- All posts
- Concrete
- Driveway
- electric heated mats
- Energy Efficiency
- Enjoy
- Hail
- Health
- Heated Driveways
- Heated Floor Mats
- Heated Mats
- Home Maintenance
- Ice
- ice dams
- Landscaping
- Liability
- Michigan
- Press + Praise
- Property Maintenance
- residential
- Roof
- Roofs
- safety
- salt
- Senior Safety
- Shoveling
- shovelling
- Slip and Fall
- Snow
- snow and ice management
- Snow and Ice Removal
- Snow Melting
- Snow Melting Mats
- Snow Removal
- Snow Removal Contractor
- Winter Car
- Winter Driving
- Winter Gardening
- winter prep
- Winter Safety
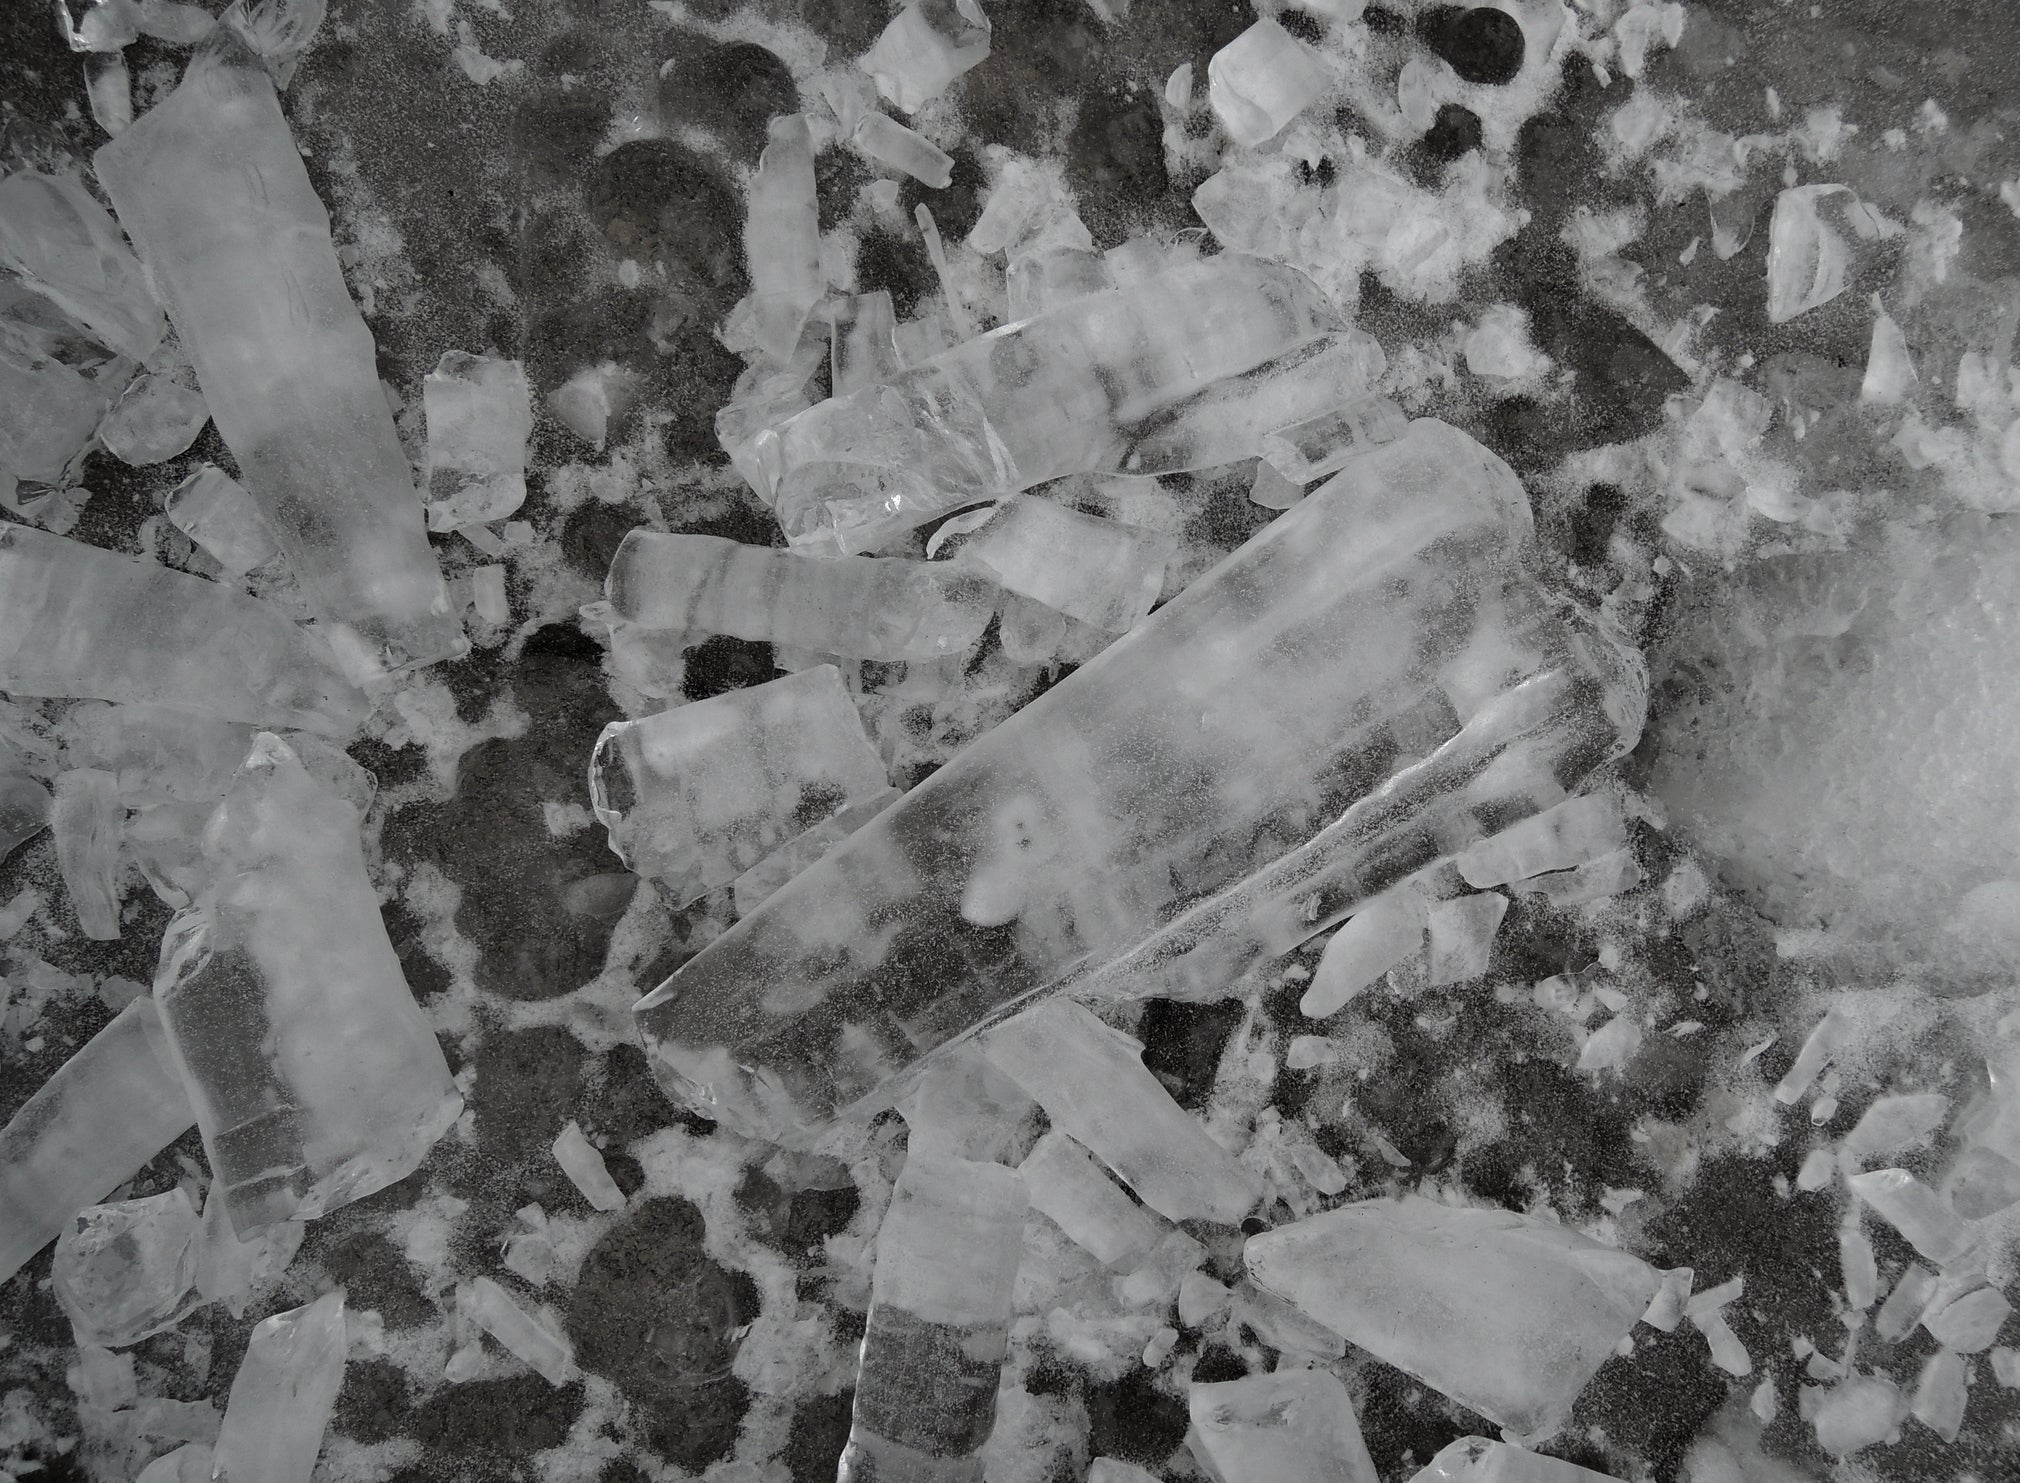
The Quest for Ice Melt Safe for Concrete: What You Need to Know
Not all ice melt is created equal, especially when it comes to concrete surfaces. In this blog post, we'll explore ice melts that are safe for concrete and other viable options.
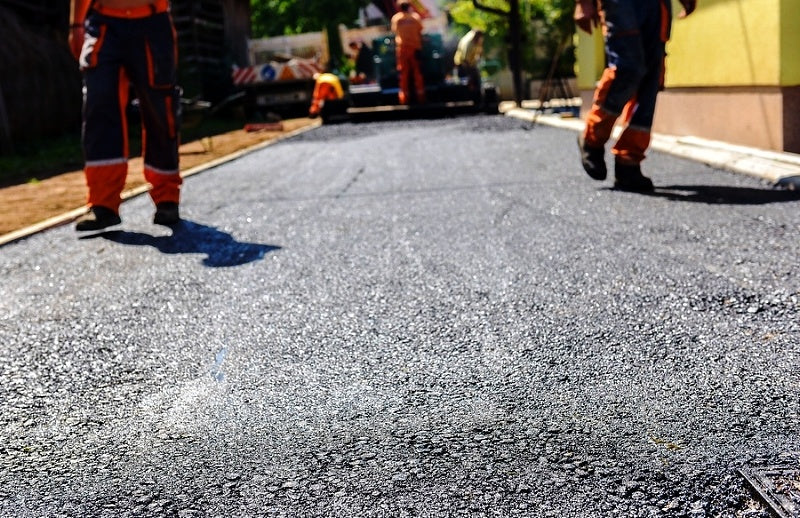
7 Things You Never Knew Were Ruining Your Driveway
When it comes to owning a home, driveways are kind of a big deal. They’re one of the first things people see when they arrive, and they’re generally used multiple times a day. That’s why destroyin...
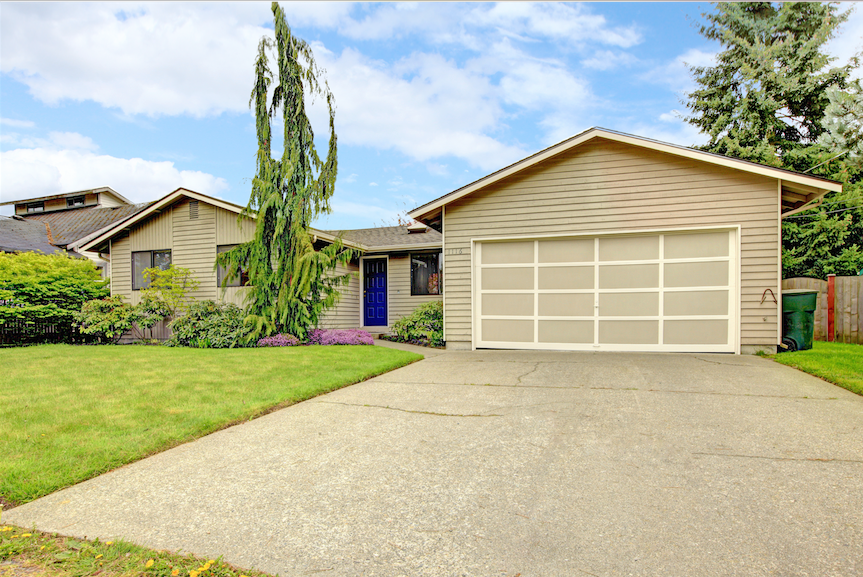
Everything You Need to Know About Heated Driveways
As winter approaches, at least in the more northerly portions of the U.S., many homeowners find themselves longing for a way to make snow and ice removal fast and easy, and heated driveway systems ...
Garage floor damaged by de-icers? Here's how to repair it
If you live in a snowy climate and routinely park your vehicle inside a garage, you know that winter weather impacts more than just your driveway and outdoor pavements. It also affects garage floor...
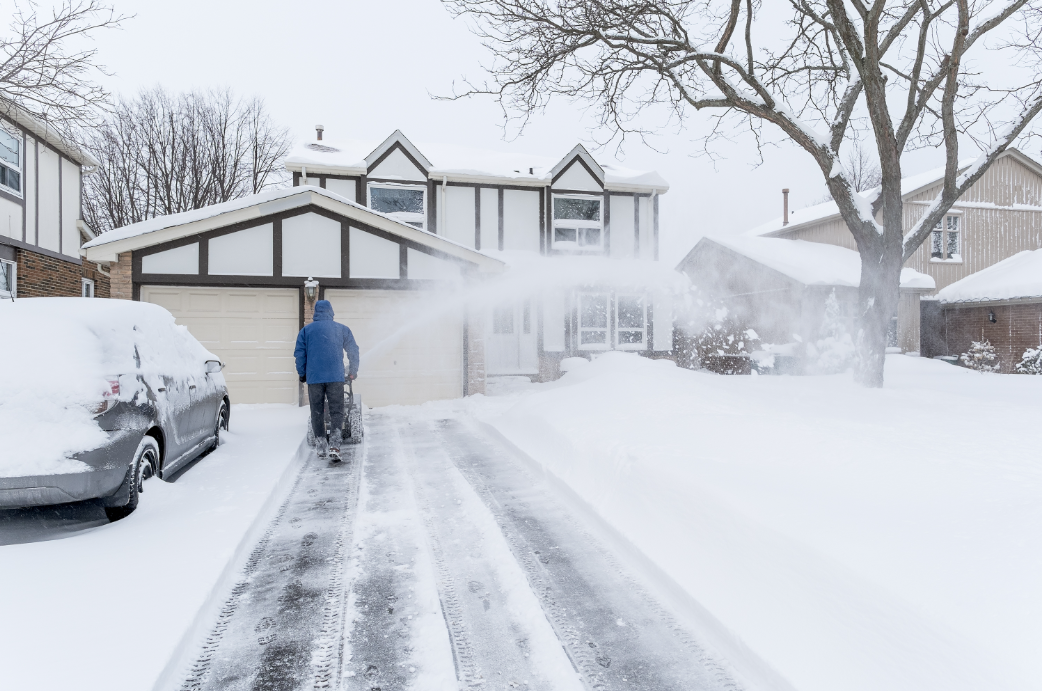
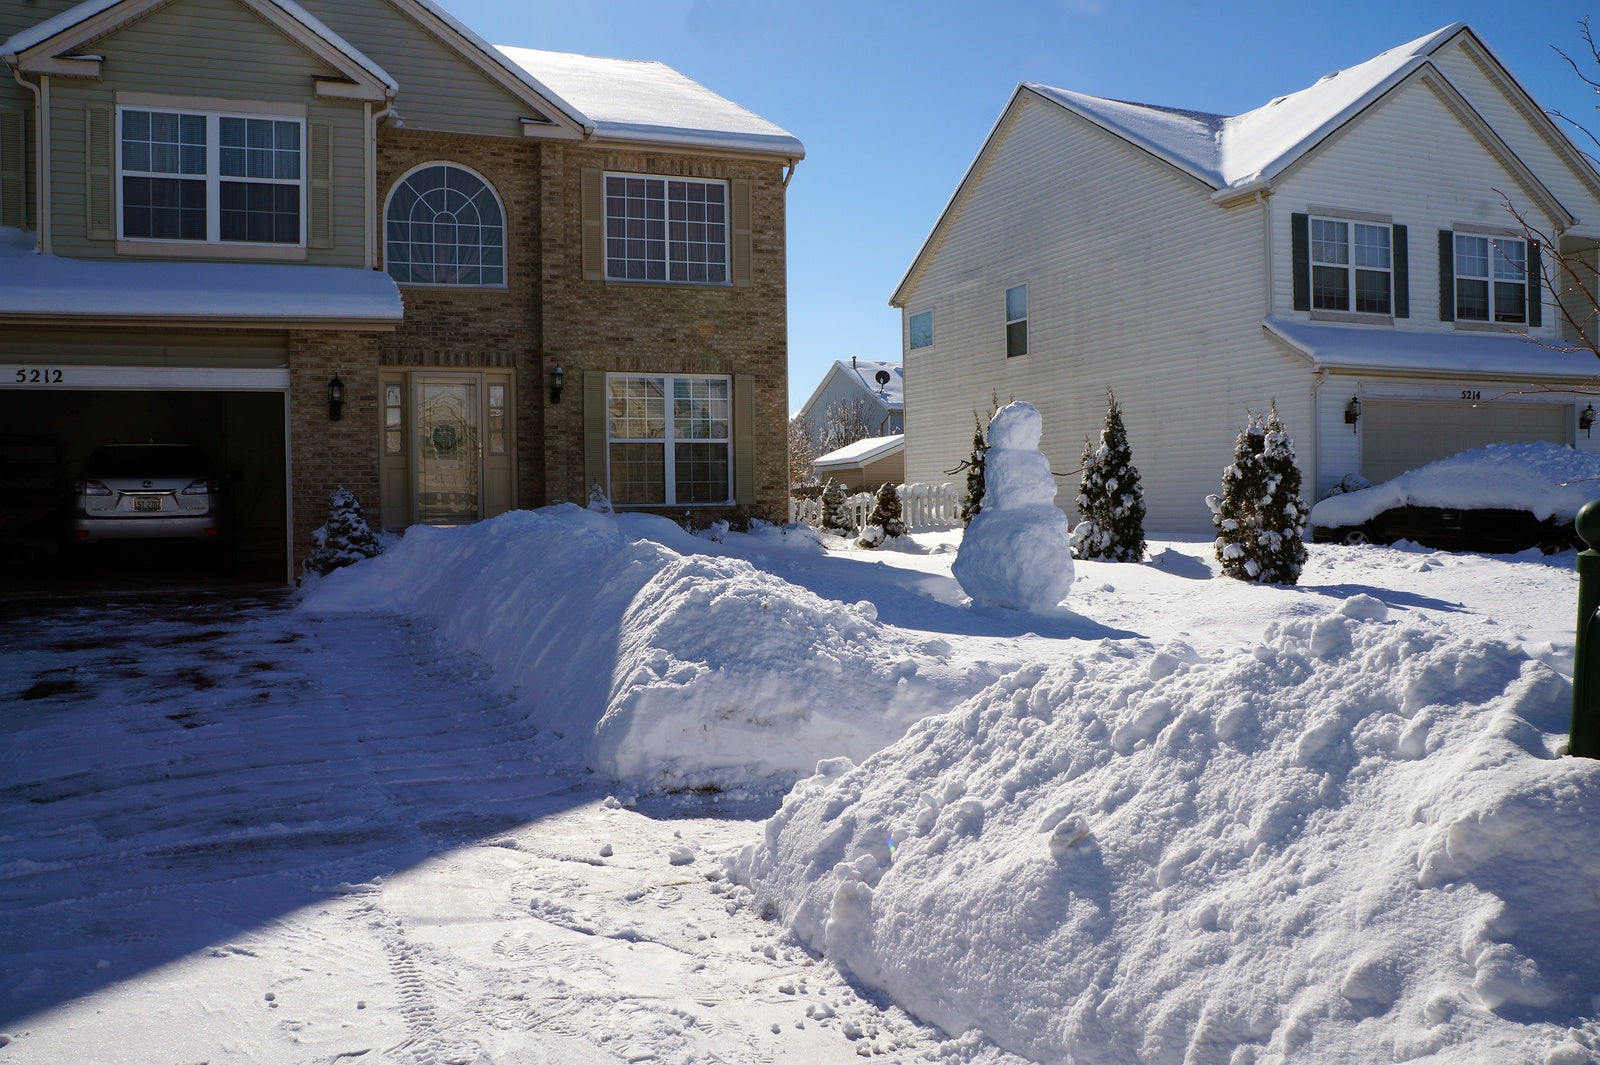
4 Tips for Clearing a Concrete Driveway Full of Snow
Got snow? Have a concrete driveway that needs to be cleared so you can back your car out and go to work (after all, we can't all hibernate)? We feel your pain. One of the major challenge homeowner...

Beyond the Drive: Understanding Hidden Driveway Costs
Don’t you hate it when you plan a project, and then get hit with some astronomical charges that you didn’t calculate into your budget? Driveways can often be a home improvement project like this, ...
Homeowners: Do's & Don'ts for Protecting Your Driveway This Winter
Concrete driveways don’t come cheap. Pouring a standard 1,000 sq. ft. (92.9 square meters) cement driveway will run you anywhere from $2,000-$5,000 (approximately $2,675-$6,688 CAD), and even simp...
Top 5 Reasons your Driveway is Covered in Cracks
If your driveway is covered in cracks, littered with potholes, and spotted with "rash-like" surface erosion, you will have to spend hundreds or even thousands of dollars to repair or replace it. I...
3 Snow Removal Methods for Your Concrete Driveway
Removing snow and ice from concrete driveways is a major concern for many homeowners living in regions with significant winter precipitation. By ridding their driveways of unwelcome winter weather...
Tips to Maintaining Your Driveway Year Round!
Your driveway is one of the most important aspects of your property maintenance. Whether it’s where you park your car, shoot hoops or watch your children play, a maintained drive is critical for ho...