
Shoveling snow from your driveway and outdoor walkways may seem like a task that requires little, if any, forethought and planning. But, a bit of preparation and a few shoveling techniques not only will help you do the job more effectively and efficiently, but will also help you protect your health.
Below is a step-by-step guide to shoveling snow in the safest, most efficient way possible:
Step 1: Assess your health
First and most important, be sure that you are in good enough health to withstand the exertion of snow shoveling. Anyone with a heart condition, respiratory problems, or previous injuries should avoid the task and instead arrange for someone else to do it.
Step 2: Work with the sun
The ideal time to shovel snow is mid-morning. That’s when outdoor temperatures have risen a bit but it’s early enough to give the sun time to do its work in preventing black ice from forming after the snow is removed.
Step 3: Prepare your body
Eat a filling, healthy breakfast and warm up your insides with a hot cup of tea or coffee before venturing outdoors. Dress in a few layers with clothing that is comfortably fitting, but don’t bundle up or you’ll sweat. And, don’t forget to wear a warm hat and warm but good-gripping gloves. Finally, be sure to do some preliminary stretches to loosen your muscles and reduce the risk of sprains and strains.
Step 4: Prepare your feet
Footwear is of prime importance when shoveling. Shoes/boots need to be insulated and water- resistant. And, since you’ll be treading on snow and ice, they need to have soles that give good traction.
Step 5: Have sand and de-icer ready
Keep a small bag of sand and/or de-icer in your coat pocket and spread some on “rough spots” while you’re working so you don’t slip. Also have a larger supply ready to sprinkle across the whole area after you're done shoveling. The sand will help melt the snow, prevent it from turning into ice, and add traction underfoot.
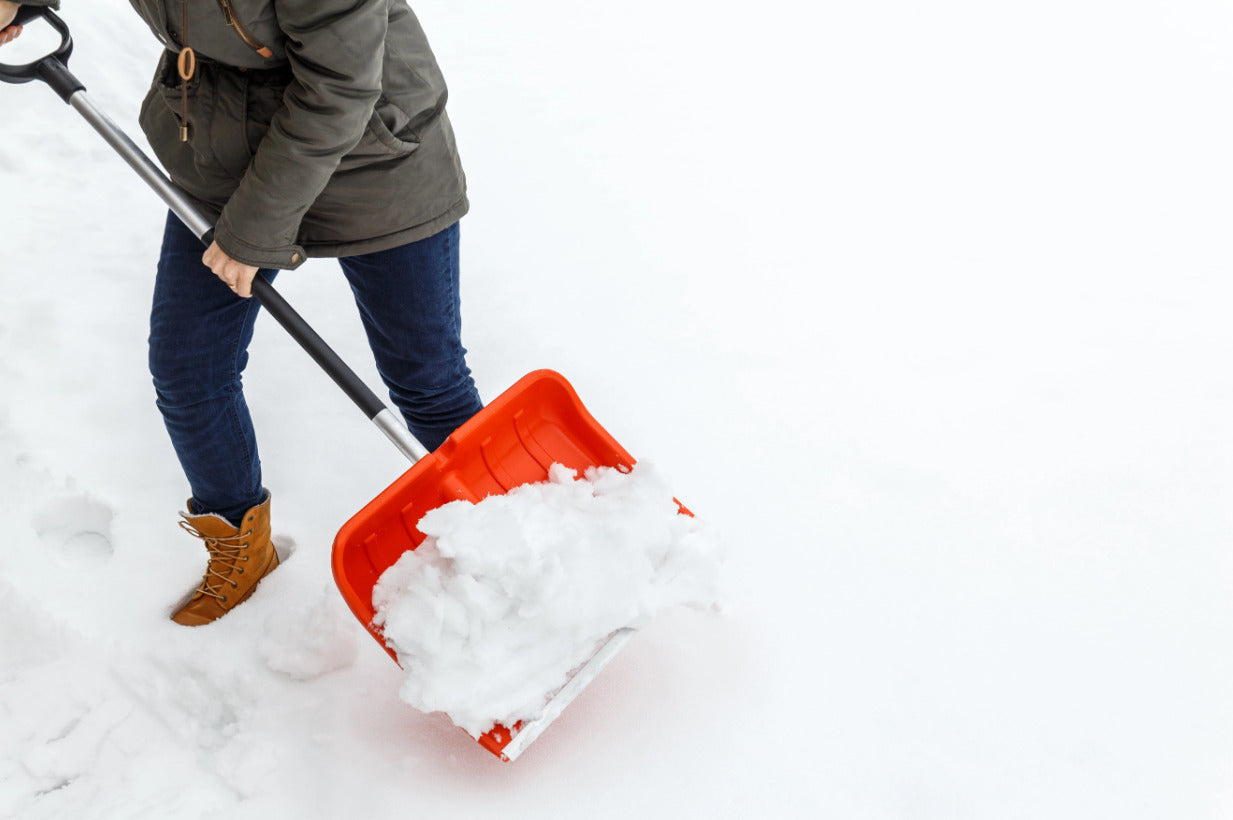
Step 6: Invest in a good shovel
The best snow shovels are lightweight and made of shatter-resistant plastic. Use one that has a non-stick surface so you won't have to keep shaking or knocking it to release the snow. It should be ergonomically designed with a bent handle to reduce the risk of back injury and an adjustable handle length to prevent overstretching your arms.
Step 7: Work in an organized way
Decide ahead of time which part of the pavement to clear first. It is often best to start in the middle of a driveway so you can push snow in each direction and never move the same snow twice. It is also best to brush snow off of parked cars first or to drive them to the street and clear them off there. Be sure to push rather than lift the snow, and avoid unnecessarily twisting and bending your back.
Step 8: Use proper technique
Distance one hand from the other on the shovel handle for optimal leverage and hold the shovel at a slight angle. Keep good posture and let your spine maintain its natural curve. When you must bend down and straighten up again, keep your back as straight as possible. When you must lift snow, keep your arms close to your body, bend your knees, and lift with your legs and shoulders, not with your back.
Step 9: Move deep piles gradually
If you come across a drift or any spot more than a couple of inches deep, shovel it away a little at a time to avoid overstraining. Scrape off a couple of inches at a time, working your way down and then forward.
Step 10: Select where to "store" the snow
Pile the snow in a location that minimizes the need to twist or turn while carrying a snow-filled shovel, and also minimizes the need to walk far while carrying snow. Normally, this location would be directly in front of your yard.
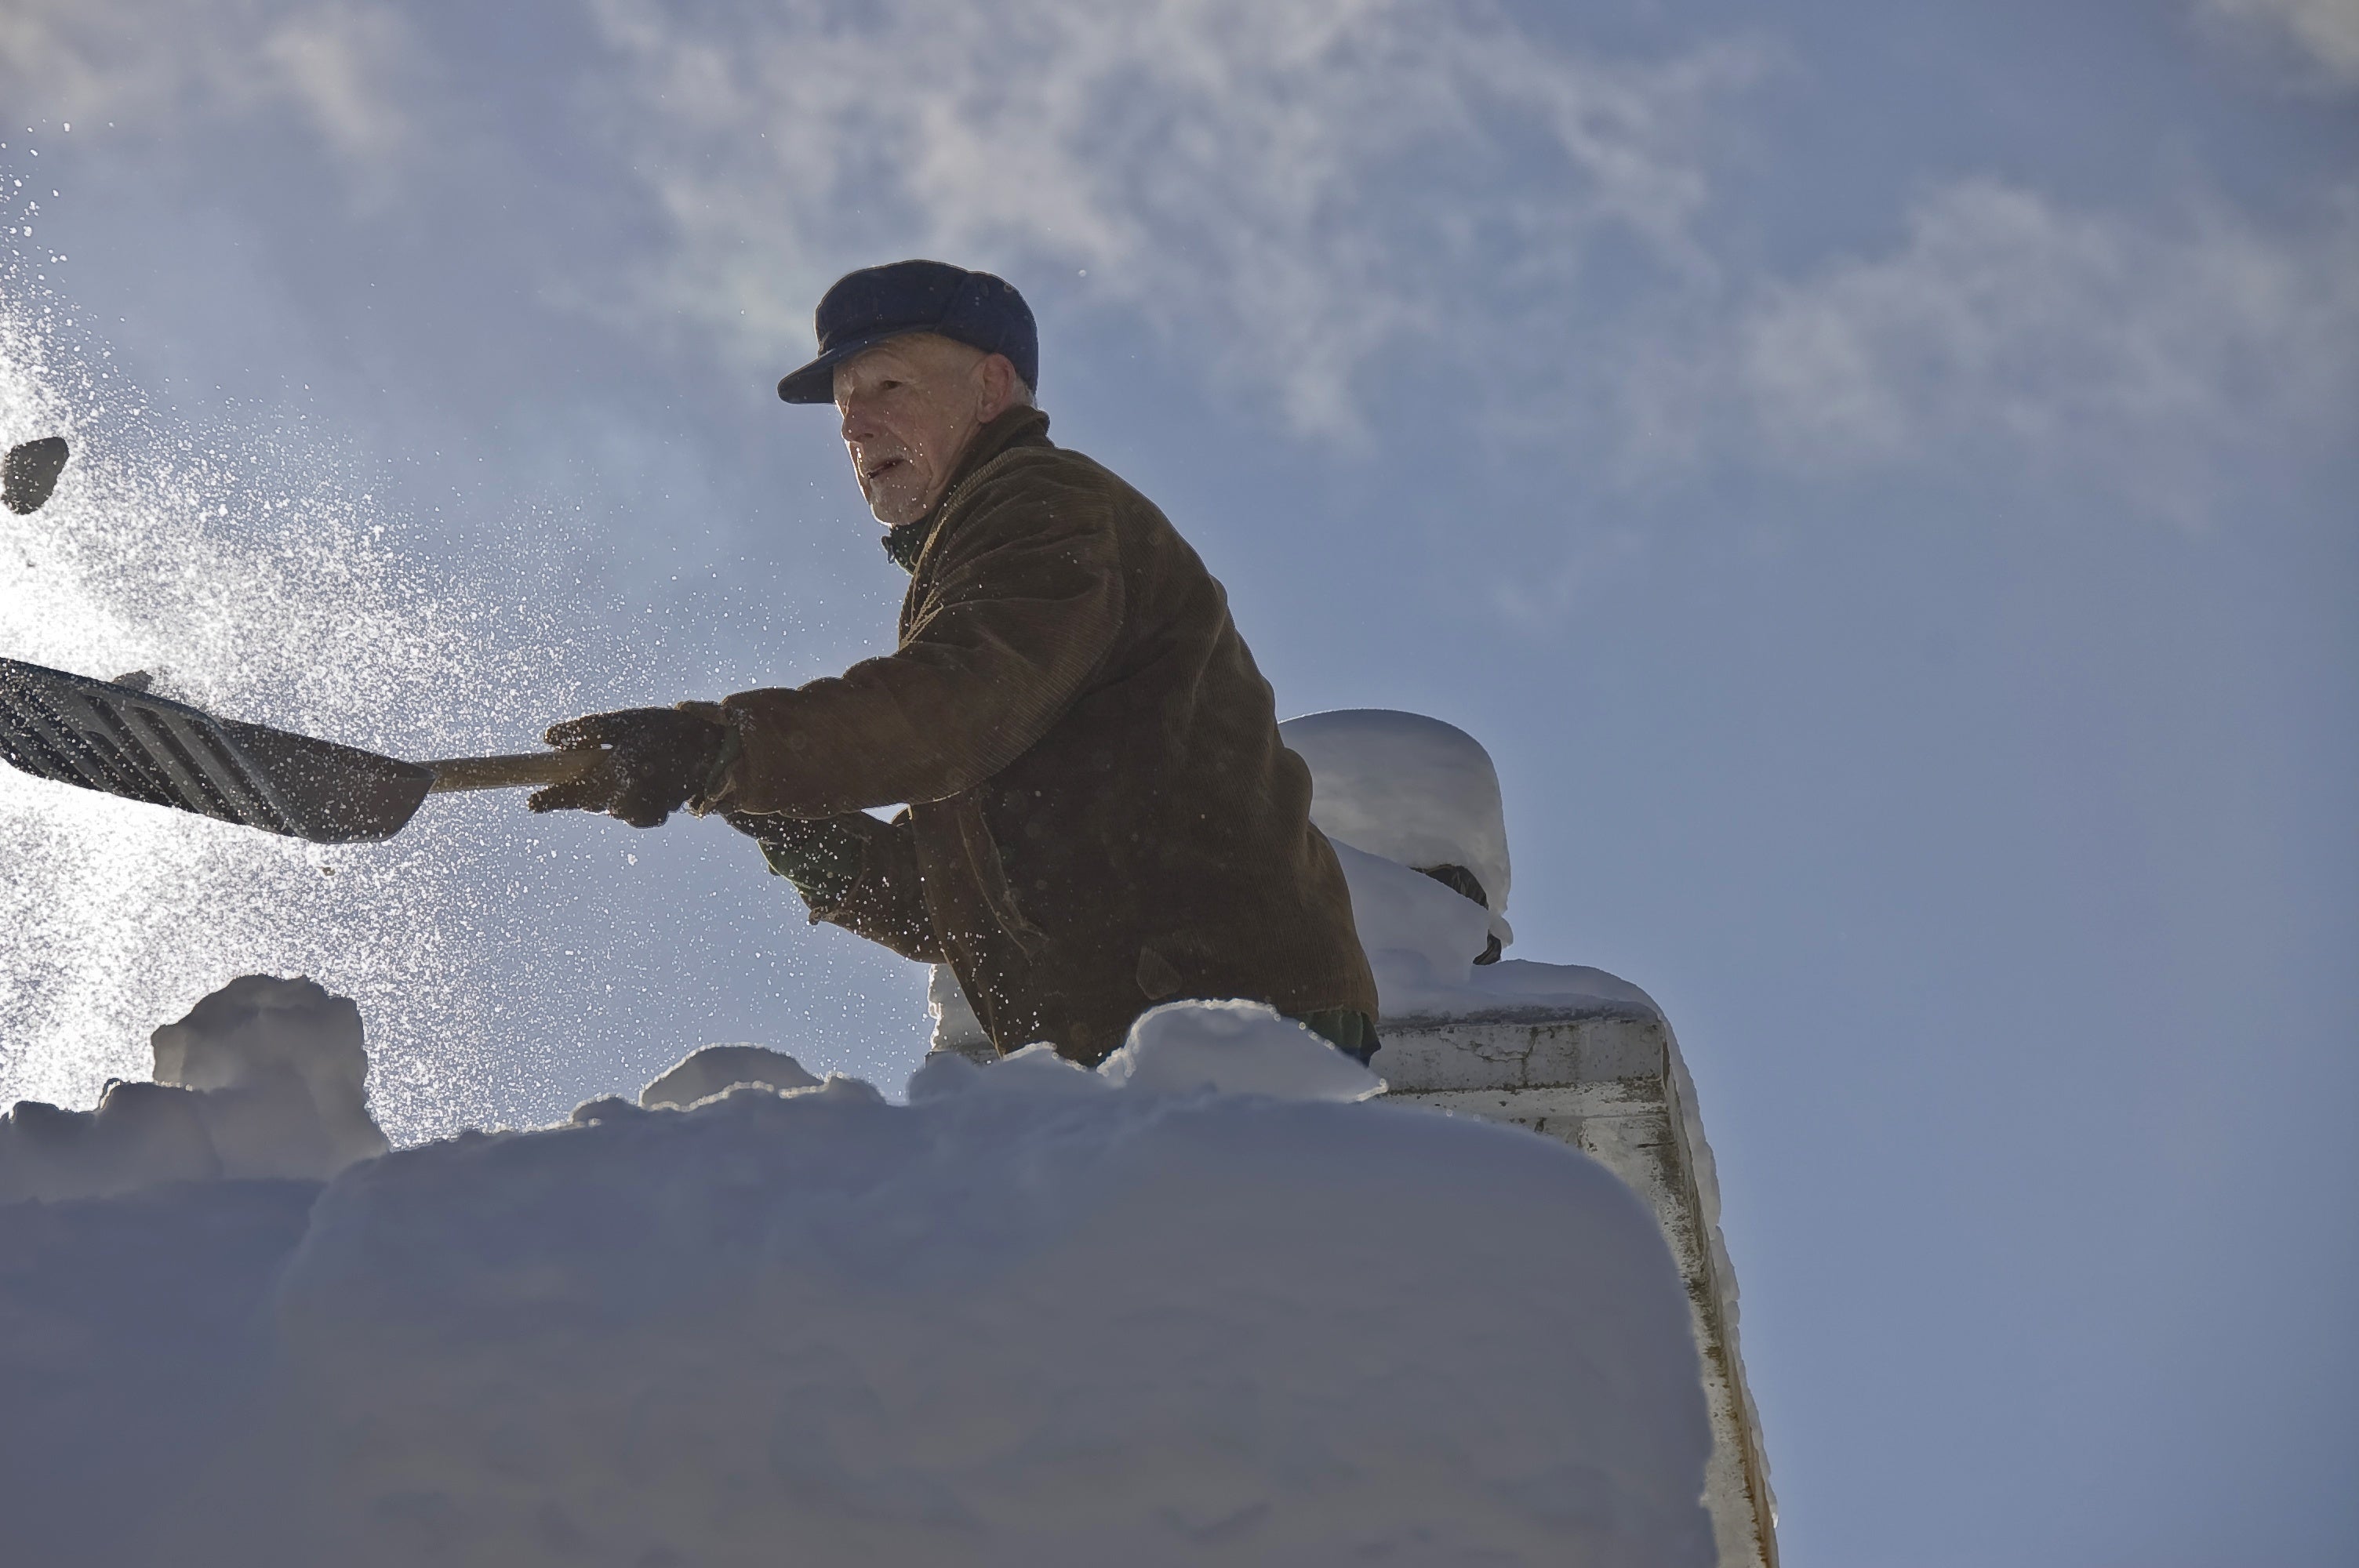
Step 11: Take frequent breaks
Shoveling snow is a high-intensity task that puts strain on your heart, arms and legs. And, being out in the elements exposes you to the risk of hypothermia and dehydration. So, take a short break at least every 20 minutes, drink some water, stretch, and if you have a thermometer or body-temperature app, check your temperature frequently. It should go without saying that you should return indoors and call 911 if you feel overly exerted, short of breath, dizzy or lightheaded, or your heart begins to race.
Step 12: Rest and recover
Finally, when you’re done shoveling and back inside, take 20 to 30 minutes to relax and recover. Warm up again with a hot drink or hot soup.
